I'm loving these stone coasters covered with a map of Florida. They would be a beautiful addition to any room but I'm thinking especially a game room, patio, or living room on a table right next to a big comfy leather chair. My number 1 daughter got me excited about art with maps when she started redecorating her home. This is the same daughter who is altering the letters for a
wall display. She is thinking of framing a few maps for hanging in her breakfast nook area and map coasters might be a nice addition to that same area.
I've been making tile coasters for several months now but this is my first exploration, (get it), into creating map coasters. I certainly will be making more using this same theme. Ideas that readily come to mind are waterways, maps of theme parks, and historical areas we have visited.
This is an easy beginners project but if you are reluctant and live local I do offer classes at
Loft Studio 310.
Here's what you will need.
Supplies
1. 4x4 travertine floor or wall tile. (I get mine in packs of nine at Home Depot)
2. Map (your choice)
3. Ranger Distress Ink (I used Vintage Photo)
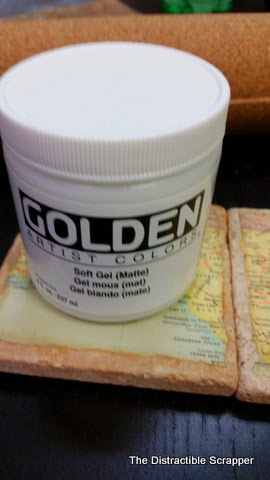
4. Matte Medium (Your choice of brands - I use Golden Soft Gel Matte)
5. Paint brush
6. Cork (Used for backing)- rolled or the small circle kind. Either can be found at most hardware stores.
7. Glue (This is only for gluing on the cork. I use E6000 but any heavy duty waterproof glue is fine. Remember though you are gluing two porous materials so something too thin might not be a good choice).
8. Blow dryer, heat gun or small air compressor to blow dust off tiles.
9. Brayer or spoon for smoothing out map surface.
Let's Get Started
1. Your first step is to examine your tiles. Sometimes they are not in pristine shape. Remember, this is an unfinished, although somewhat tumbled tile, and it will be filled with imperfections. Go through your set and pick out the ones that appeal to you the most. Don't worry if they have holes, you just don't want your holes so big that they would defeat your purpose and cause a glass set on them to fall over.
2. Blow all the dust off your tiles. I use a mini compressor but a blow dryer would work fine too. A heat gun would also blow off the dust just be careful not to burn yourself. In a pinch a paint brush will work but it will not blow out the fine dust from the holes in the tile.
3. Pick your map, (I just pulled one out of an old atlas but any map will work - how about one from the theme park you went to on your last family vacation), measure and cut or tear slightly smaller than the surface of the tile. If you want your coasters to look like one big map when laid out, remember to cut the pieces so that they line up. This is why I tear my edges so that precision alignment is not necessary. (It's important not to stress over this step).
4. If desired ink the edges of the map.
5. Apply gel medium to the back of map and the tile piece.
6. Smooth down using a brayer or the back of a spoon to work out any bubbles and wrinkles.
7. Allow to dry. I don't rush this step. I think the best bonds come when a piece has had time to cure between coats. It can try your patience but just find another project to work on for a couple of hours.
8. Apply a coat of gel medium to the top of the map coaster. Allow to dry for at least an hour, then apply another coat also waiting for it to thoroughly dry before adding a third and possibly forth coat.
9. Lastly, cut a piece of rolled cork or use four small pieces of cork to cover an area on the back of the coaster. This serves as a buffer between the rough surface of the coaster and your favorite piece of furniture. Glue the cork to the back of the tile using E6000 or your choice of glue. I use rolled cork so once glued down I put a book on top of the coasters with something weighty on top of the book. I leave that overnight to dry.
10. Get a glass, fill it with your favorite beverage and set it on your beautiful coaster. Sip away and enjoy the fruits of your labor.
Happy Creating.
Susan